A trip to bush in the new GWM Cannon showed up some need for better lighting 💡.
I arrived in the bush with Matt at a bit passed midnight; Matt had bought a spotlight with him, but I wanted something more permanent.
So a trip to Super Cheap Auto , and I’m undertaking a new project!
Let’s install a light bar on the GWM Cannon.
Prerequisites
Firstly, let me say a few things about MY install.
- I already have a basket / roof rack installed, and I wanted the lightbar attached to that.
- I already have 12v fed to under my back seat to power my Sub woofers.
So, with that out of the way, here is what I wanted to achieve:
The Goal
So first, a bit of backstory.
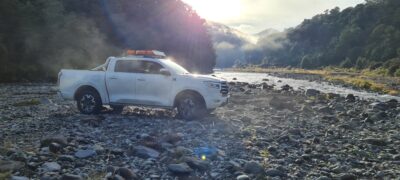
I went bush again with Matt, and the lighting was ok.
Check the amazing pic I got:
I also used the weekend to try a new adventure tent that I bought from Equip Outdoors.
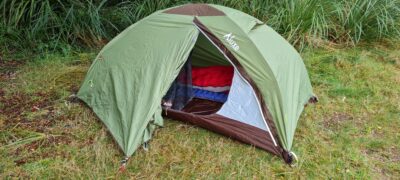
It’s a sweet tent, with heaps of room, and weights 2.1kgs! That’s awesome!!!
Back to the lights 💡:
The goal is to have a lightbar that turns on when I flick on high beam, but also has a manual “off switch”, so I can have high beam on without the lightbar turned.
The Law
In NZ we have some laws about driving lights:
- On cars and trucks, all headlamps must be fitted as a pair (eg not a single centred headlamp). This means that a centre-mounted single light bar cannot be considered a headlamp.
- Cars and trucks must be fitted with only one pair of dipped-beam headlamps and up to a maximum of two pairs of main-beam headlamps. Since vehicles come with an OEM dipped-beam headlamp, a light bar cannot be added for dipped-beam use (because a second pair is not allowed).
- On mopeds and motorcycles, headlamps can be fitted singly or in pairs, to a maximum of two dipped-beam headlamps and two mainbeam headlamps.
- The headlamps cannot dazzle, confuse, or distract so as to endanger the safety of other road users.
- The centre of the beam pattern must be pointed horizontally or down (not upwards) and to the centre or left (not to the right).
- The main-beam headlamps must still be able to be dipped or extinguished from the driver’s seating position.
- All headlamps must meet an approved safety standard unless fitted to older vehicles (before 1992 for class MA and NA, before 1996 for others (excluding group L, which are before 2006)).
Also regarding “work lamps”:
- A vehicle, other than a moped, may be fitted with one or more work lamps, which are defined as follows:
- Work lamp means a high intensity lamp, which is not necessary for the operation of the vehicle but is designed to illuminate a work area or scene; and includes:
- a scene lamp; and
- a spot lamp; and
- an alley lamp.
- Work lamp means a high intensity lamp, which is not necessary for the operation of the vehicle but is designed to illuminate a work area or scene; and includes:
- A work lamp isn’t for normal on-road driving.
- Work lamps may only be used when the vehicle to which they’re fitted is stationary or travelling slowly; and to illuminate a work area or scene.
- A work lamp must not be wired into the head lamps and must be switched to operate independently of other lighting equipment.
Here’s the one thing I disagree with, regarding NZ laws.
Imagine if you will, you’re driving through the forest at night, blazing your “work lights”, and you come across a camp, where people are sleeping.
If your “work lights” are powered separately to your light circuit, then you have to faff about switching off your lights, so you don’t bother your new found friends that are now VERY MUCH awake.
If your “work lights” are switched, but can only be switched during high beam, then you flick to low beam, and your work lights turn off. And you’re a considerate person.
Also, I’m installing a single centred lightbar, so this will be illegal as a road light.
Oh, and I already have 4 bulbs shining on high beam.
Anyway, Read the NZTA Laws about extra lights here.
Let’s go
So, I bought a Ridge Ryder 31 inch slim LED lightbar.
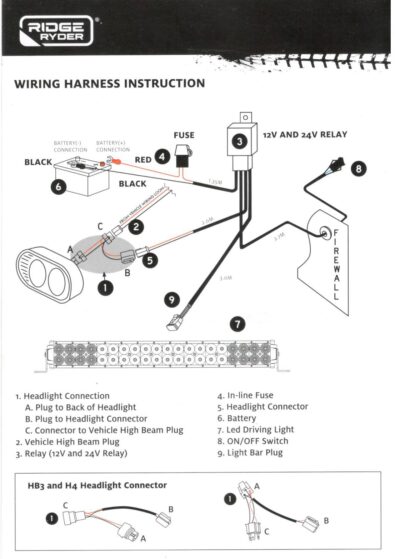
Here is a wiring diagram:
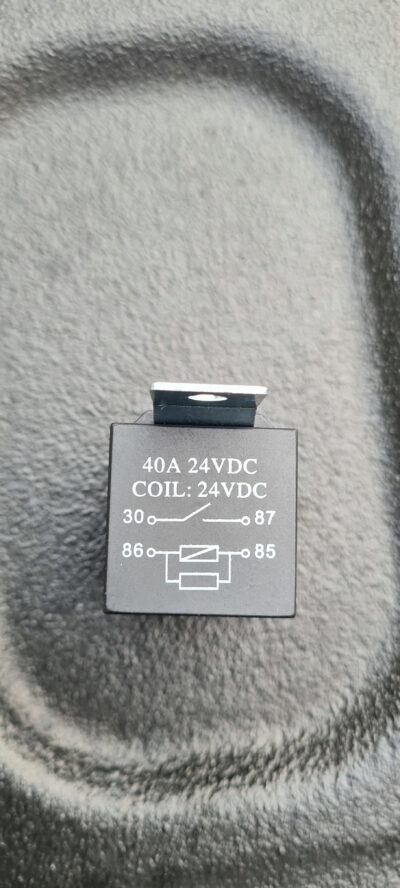
It’s all based around a pretty simple relay:
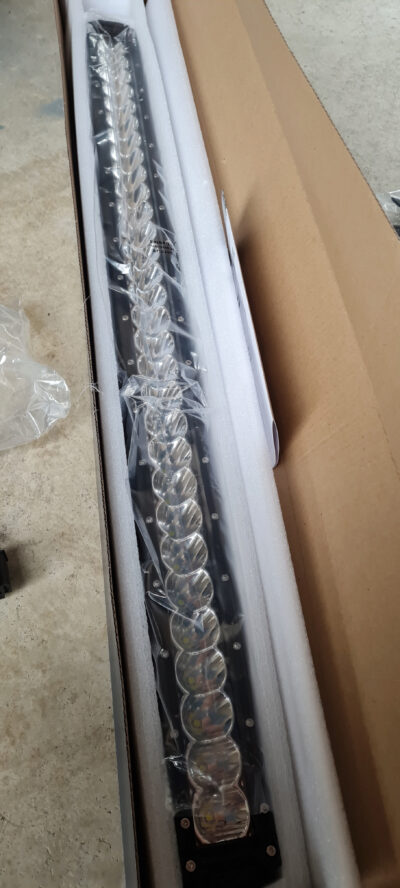
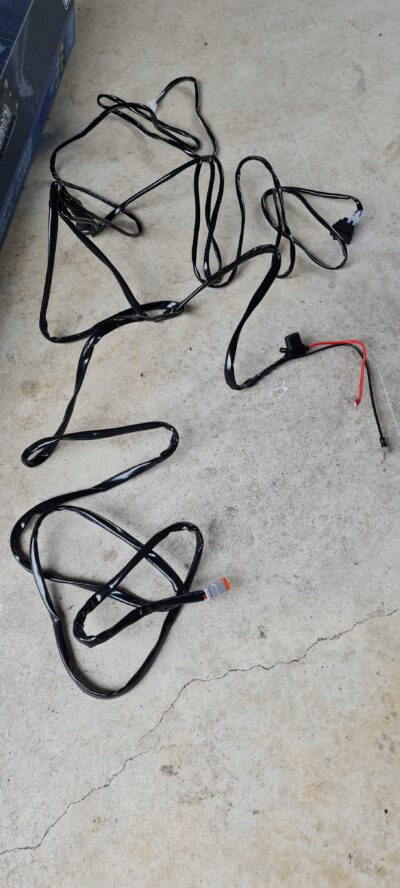
And here’s what is in the box:
The light:
The loom:
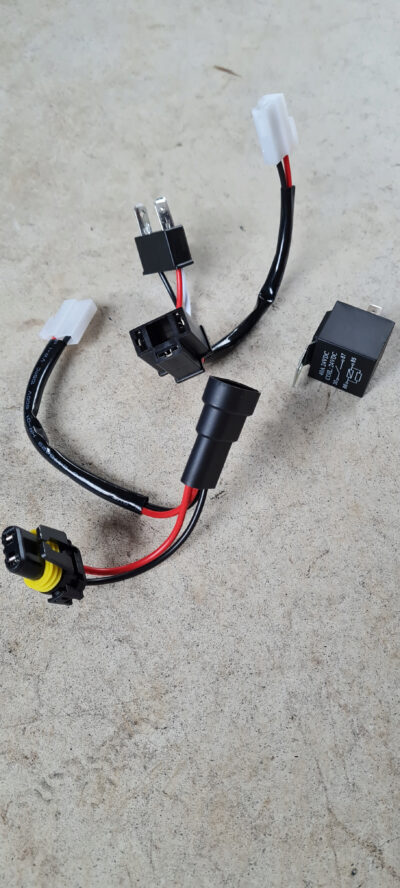
The headlight harnesses:
The Lightbar install
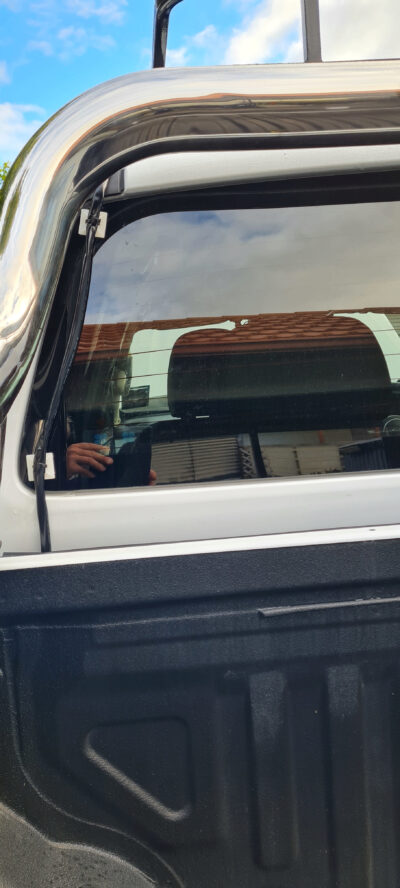
Like I said previously, I’m going to install this on my roof cage, and I’ve decided to run the cabling down the back of the cab:
Also, behind the rear seat on the passengers side is a very accessible gromet in the floor.
You’ll need to remove two plastic clips to lift the rear insulation.
These things are notoriously easy to break, so grab yourself a small screw driver, lift the centre piece of the clip first, then remove the entire clip:
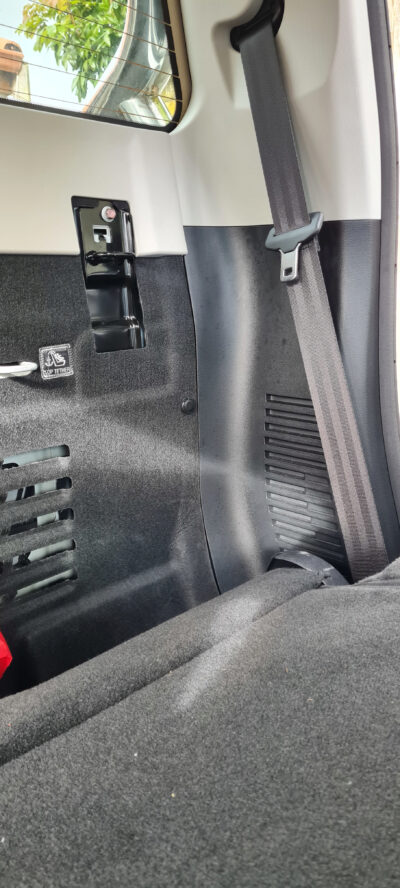
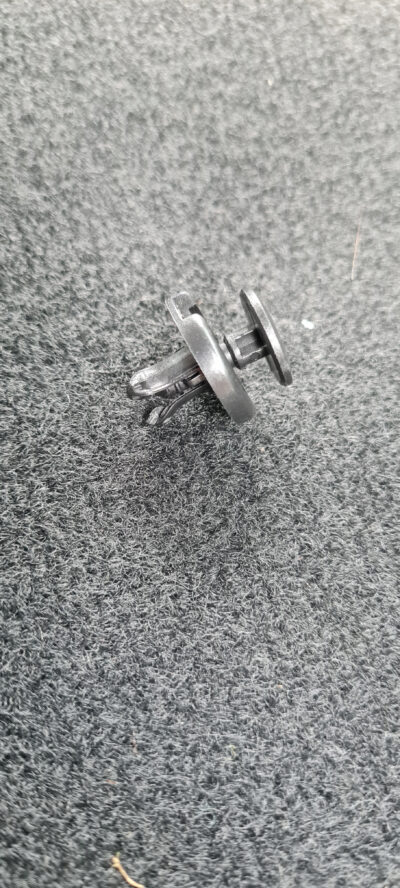
Woo-hoo .. access ….
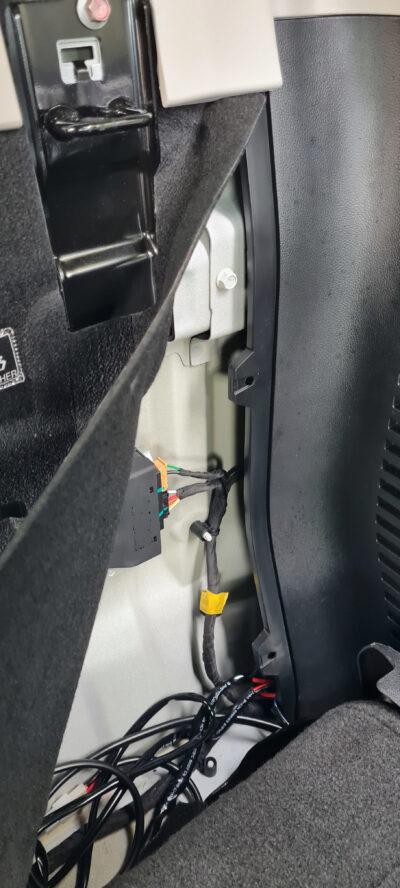
note, I took this pic after I had installed the relay and wiring loom, hence all the extra wires.
On the floor behind that plastic trim is the gromet that you can thread the light power cable through!
The Wiring of the Lightbar
Well, here’s my first problem!
The 2 harnesses that were supplied with the light look like this:

Great if you have traditional lights, I don’t !!!
Here’s what my headlight plug looks like:
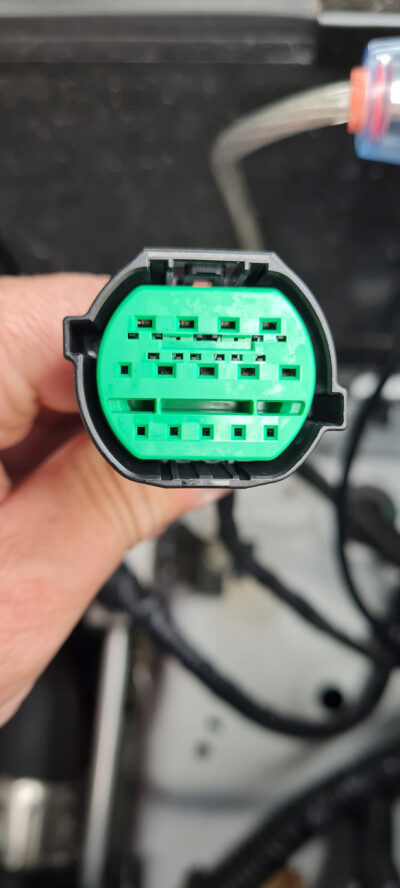
Crap .. time to do some Googling.
After a couple of days, and some Facebook posting to an NZ Cannon owners group, I find some pics of people who have done this before !!
A dude called Paul Davis shared a pic with me, and notes: the “red wire” and the “Green/Yellow” wire. AND on the passengers side in front of the battery (I’m not sure that makes a difference?).
Well, the Green/Yellow is easy, there’s only one.
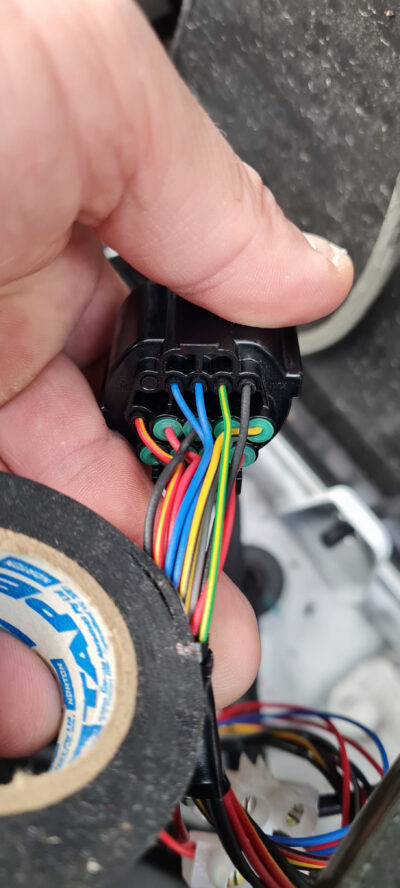
There’s two red wires .. bugger.
To be honest, I guessed, and just so happens I guessed right first time!
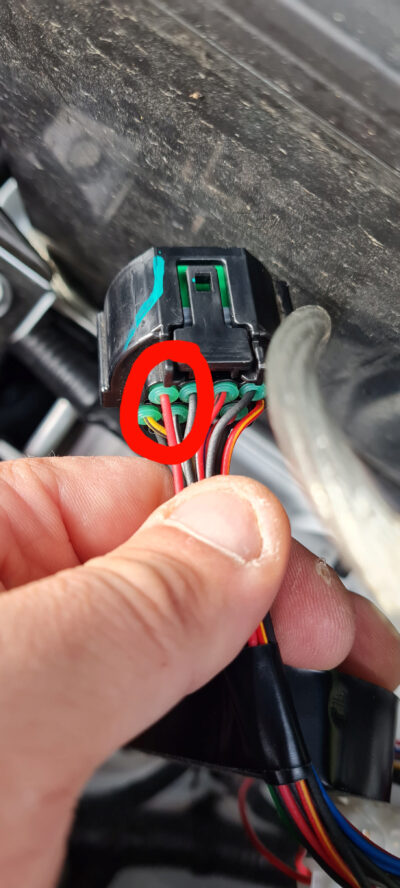
So, I have my high beam circuit, the lightbar is wired through the floor to behind the seat, the next bit is removing trim, and running cables.
Like I said previously, I already have fused 12v under my rear seat, so I don’t need to run that, but I do need to run a cable from the high beam circuit back to the rear of the truck where I have installed the relay (behind the back seat).
So, up comes the trim and I run a cable.
I also take the opportunity to run the cable that has the switch on it, under the trim, and up the front to the glove box.
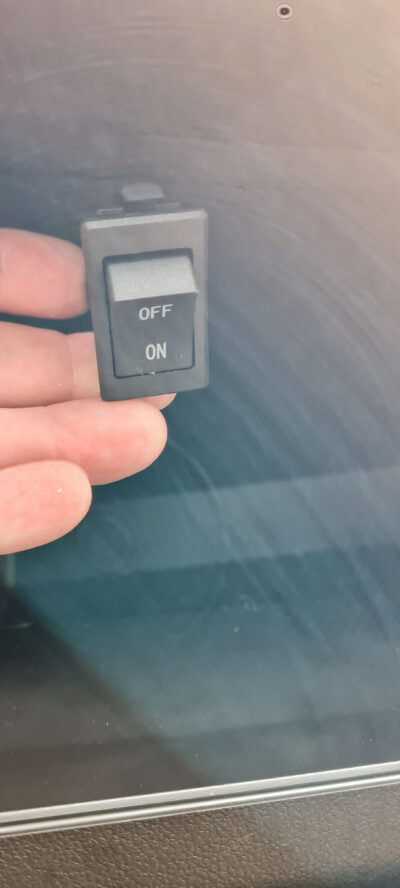
I grab 12v from my subwoofers, and an earth from my subwoofers, and I have switched 12v from the high beam circuit, and the switch is in the glovebox.
Result!
Boom!
I now have super mega lights!
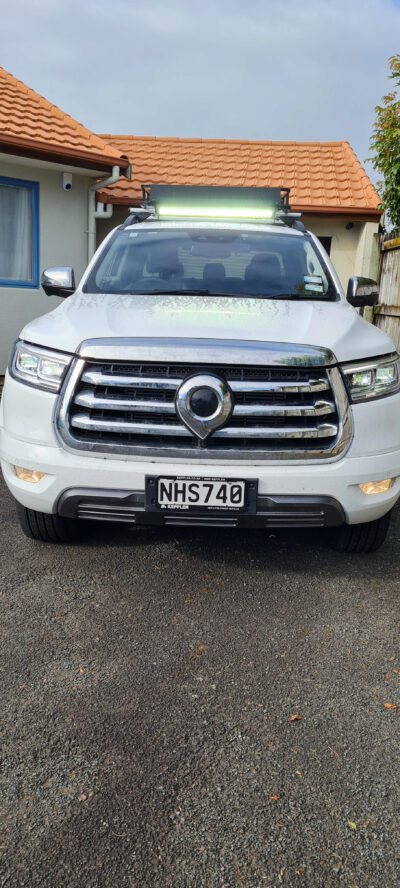
Note: the flickering of the driving lights is caused by the camera, the lights don’t actually flicker.
24 Comments